What Is Kinesiology Tape and How Should You Use It?
Health & Wellness
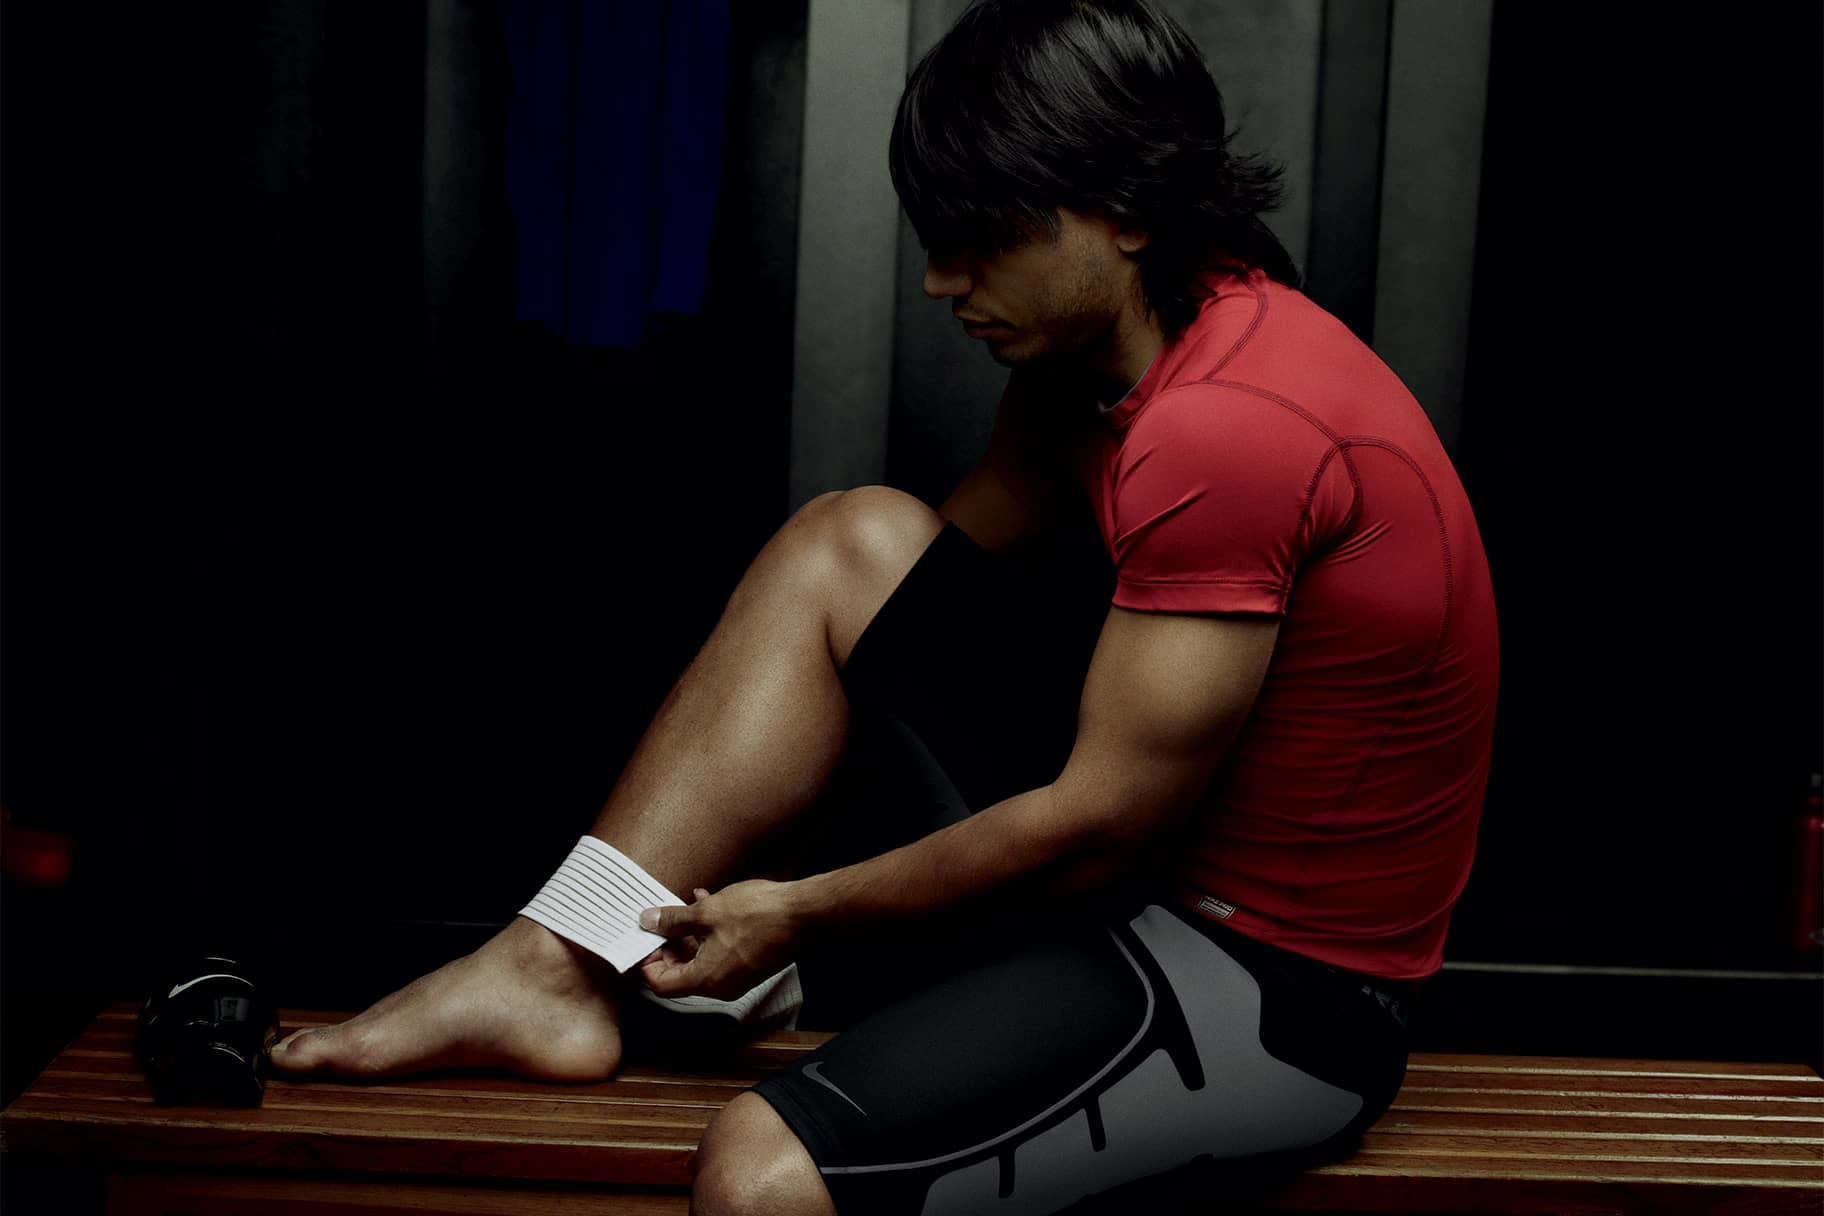
You may have noticed athletes wearing strips of tape around their ankles, knees or shoulders. What's it all about—and should you try it out, too?

If you've dealt with an injury, visited a physiotherapist, or even just watched a professional game or race, you may have seen kinesiology tape—those popular strips of tape donned by athletes in all sports.
Why is the tape so popular? "K-tape's magic is in its elastic structure", says Alina Kennedy, CSCS, certified running coach and physiotherapist. "When you apply it, you stretch the tape, which then causes it to pull back on itself slightly and produce wrinkles in the skin. The theory is that as the skin bunches up, it increases blood and lymphatic flow underneath it. This is great for injuries because it encourages more healing and faster recovery".
How Kinesiology Tape Works
When kinesiology tape pulls on your skin, it creates a very small amount of space between your skin and the tissues that lie just underneath, and not only does that aid with more blood and lymph flow as Kennedy describes, it also gives your joints more room to move.
For example, one study found that taping around the knee can increase the patellofemoral joint space. Even though the space is small, it can be enough to reduce joint irritation during movement.
There's a mental component as well, Kennedy says. K-tape gives a particular body part a sense of extra support, whether that be your ankle, knee or something else. Even though it won't change how you move, the sensation of having tape around a joint can give you the feeling that you have an extra bit of stability, Kennedy says.
In her practice, Kennedy often uses K-tape for muscular injuries like Grade 1 muscle strains—mild damage with minimal loss of strength and motion—in calves, hamstrings and quads. She's also found it works well for runners who experience muscle fatigue and leg cramps during long-distance runs or races.
The tape is also useful when retraining weakened or imbalanced muscles. For example, a 2017 randomised controlled trial that looked at participants with forward head posture, which can cause pressure on the cervical spine. Results showed improvements in head placement when they used the tape on their necks and upper back.
3 Tips for Using Kinesiology Tape
Even if you don't have pain, asking a professional to apply the tape first can be helpful, says Whitney Heins, certified running coach and founder of US running community The Mother Runners. That way, you can get advice on placement and detailed instructions, making it easier for you to apply it on your own.
If you're hoping to use the tape for a big game or race, Heins suggests having a licensed professional apply it a day or two ahead of the event—the tape will still be in place days later, and you'll know how to reapply if necessary.
Whatever your goal or need, K-tape application should follow these guidelines:
- Clean the area first, then swab with rubbing alcohol and let it dry. This will help the tape adhere more securely and for longer.
- Wrap the middle portion of the tape around the targeted area, especially if there's a minor muscular injury. This is the portion of the tape that has the most stretch. For example, with a strained calf, the middle of the tape will need to cover the back of your lower leg.
- Make sure there isn't any stretch in the ends of the tape. Essentially, the middle, stretchy portion should be bookended by firm edges.
And remember, "While helpful in managing pain in some athletes, it's definitely not treatment and won't 'fix' any injury", Kennedy says. "I'd recommend that if you're in pain, you should get your injury assessed by a physiotherapist or sports doctor prior to using K-tape".
How to Tape a Knee
Look at any race starting line, and you'll see several ways to tape a knee, because there's no one "right" way, Kennedy says. Play around with what feels most stable to you and work with a physiotherapist to determine the application that best addresses your needs.
The easiest method is to buy pre-cut kinesiology tape specifically for the knee. This is called a Y-strip, as it looks like an extra wide piece of tape that's partially cut in the middle.
- Start wrapping about 8 to 10cm above the knee.
- Bring the tape down so the split goes over the kneecap, exposing it as the tape goes on either side.
- Then, depending on the brand, the tape either has one strip under the kneecap or it continues as two pieces that cross behind the knee. This assists with stability, Kennedy says.
Don't miss: Is Running Really That Bad for Your Knees?
How to Tape an Ankle
If you have stiffness, mild pain or instability in your ankle, taping can help, Kennedy says, as long as there isn't an actual injury. Here are the steps for taping:
- Start on the outside of your leg about 10 to 15cm above the ankle.
- Stretch the tape over the heel, as though you're putting your foot in a stirrup.
- Pull the tape to the opposite side, over the inner part of the heel.
- Put another piece of tape on the back of the foot, centred with your Achilles tendon.
- Wrap the tape around the ankle. The tape should be tight enough so the ankle can move while still feeling supported.
Although this is the same way you'd tape a sprained ankle to keep it stable while it's healing, that doesn't mean you're ready to get back to your sport because you have the tape on. The tape is meant to enable joint mobility while you're getting better—not get you back into action straight away. This goes for any type of injury, including a meniscus or rotator cuff tear.
Check with your doctor about the time frame for a return to exercise if you have a sprain, strain or other injury.
Words by Elizabeth Millard
Now, be sure to download the Nike Training Club App for more expert-driven advice!


