How To Start Skateboarding As an Adult
Sport & Activity
Master this challenging (and fun) sport with these foundational tips from a skateboard educator.

Skateboarding is a sport that requires skill, coordination and balance. But it's also incredibly fun and exhilarating—and worth learning, even in adulthood, said Joe Eberling, founder of The US Skateboard Education Association and a USSEA-certified skateboard educator.
He explained that it has a similar learning curve to any other sport. "Age is no barrier. The physical abilities used to skateboard—standing, balancing and pushing against the ground—are the same [abilities] as used in sports like ice skating and roller skating, both of which are learnt by adults of all ages".
(Related: 5 Health Benefits of Rollerblading, According to Experts)
Eberling said that while enlisting the expertise of a certified coach or skateboard professional is a new boarder's best bet when it comes to learning to ride properly, athletes can also learn the basics on their own—so long as they have the right equipment and can legally skateboard in the allotted space. (It's important to note that some counties prohibit skateboarding in certain areas, so check your county's laws before heading out.)
And while you might not be airborne on a skateboard just yet, it's important to gear up in the right protective equipment prior to starting. This includes a helmet, knee and elbow pads, and wrist wraps or pads. Read on to learn about how to get riding and the best equipment to buy to learn to skateboard.
How To Ride a Skateboard: 4 Foundational Moves to Master
If strolling into a skateboard park seems intimidating, consider starting on a playground with some type of rubber surface (near some grass) first, Eberling said. He explained that newbies can start moving on the grass, and then proceed to the rubber playground surface.
"The rubber surface is level and slow, so the board won't get away from you and will be more forgiving than concrete when you fall", he said.
Eberling said that after you've mastered the basics on the board—pushing, rolling, stopping and getting off—on the rubber surface, you can move to a concrete or tarmac surface. (So, ideally, pick a playground with all three surface types.)
1.Master Getting on and off the Board
Before you get moving, Eberling said it's important to learn how to get on and off the skateboard. And try not to get discouraged: you may need to spend half or all of a single session (or multiple ones) dedicated to the basics. Head to the grass for this tutorial:
- Front foot on: Place one foot on the front of the board, covering two of the bolts and leaving the other two visible. Eberling said this is your "sweet spot" for finding balance. Next, bend the knees and lift the opposite foot a single inch off the ground. The foot should be parallel to the board. Put the foot back on the ground again. "Practise this motion until you feel confident", Eberling said. "See how long you can balance on the board with that [forward] foot".
- Back foot on: Once you're confident balancing on your front foot, it's time for the back foot. While balancing on the front foot, place the other foot on the back of the board, or slightly behind the "trucks" (the T-shaped pieces that mount to the underside of the skateboard). As the front foot points forwards, the back foot will naturally turn sideways. Rest the back foot on the board for a few seconds, keeping most of the weight on the front foot. Next, lift the back foot slowly and place it back down on the ground again.
- Learn to pivot: At this point, the back foot should be turned sideways on the board. Now, the front foot should assume a similar position. Lift the front-foot heel slightly, then rotate the foot (keeping it in contact with the board) until it is sideways and parallel to the other foot. "You'll feel like you are grinding the ball of your foot on the griptape", Eberling said.
Eberling said that pivoting can be a difficult move to learn, but as it's the foundation for all skateboarding moves, it's important to dedicate a fair amount of time practising it. "You'll probably find yourself falling on the grass in the process", he said.
2.Experiment With Different Front Feet
"Just like handedness in writing and tennis, there is footedness when riding a skateboard", Eberling said. "The best way to figure out which foot you prefer is to try the moves [outlined in Step 1] with both feet. Eventually one will be more instinctive".
Eberling noted that, in skateboard culture, riding with the left foot forward is called "regular" and riding with the right foot forward is called "goofy".
3.Learn to Push and Roll
To start moving (so, pushing with the back foot to propel yourself forwards while keeping the front foot on the board), you can stay on the grass or rubber surface. Here's how to start:
- Step on the board with the front foot toe pointed forwards, covering two of the bolts and leaving the other two visible. The back foot should remain on the ground for now.
- With a slight bend in the knees, put the weight into the ball of the back foot, push against the ground until the board starts to roll forwards. Drag the back foot on the ground until the board comes to a stop.
- Repeat Steps 1 and 2, but this time, pivot the front foot when gliding forwards so both feet are facing sideways and parallel to one another. When ready to stop, "unpivot" the back foot (so it should face forwards) and drag it on the ground.
"After a few tries, eventually, you should be able to bring the back foot on the board, pivot and roll forwards without pushing", Eberling said.
4.Conquer Carve Turning
Carve turning is the process of turning the board and tilting it so that the trucks pivot and turn the board, according to Eberling. You'll need to practise this in an open, flat space (such as a tennis or basketball court) where you can accumulate speed before leaning, or turning, to change directions. Here's how to do it:
- After getting on the skateboard, pivot the front foot so both feet are sideways and parallel to one another on the skateboard. After gliding for a few seconds, put emphasis, or weight, on the toes to make the board turn "backside", or clockwise.
- With a similar foot stance and bend in the knees, place the weight primarily in the heels to help the board turn counter-clockwise, or "frontside".
- Continue alternating emphasis on weight in the heels or the toes, keeping a bend in the knees and emphasising the core muscles to maintain balance. The board should follow a gentle S-shape pattern moving forwards.
- To stop, unpivot the back foot and gently drag it on the ground.
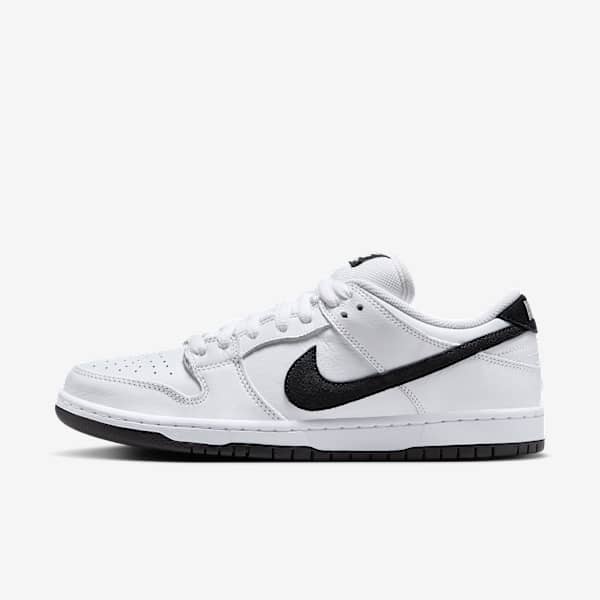
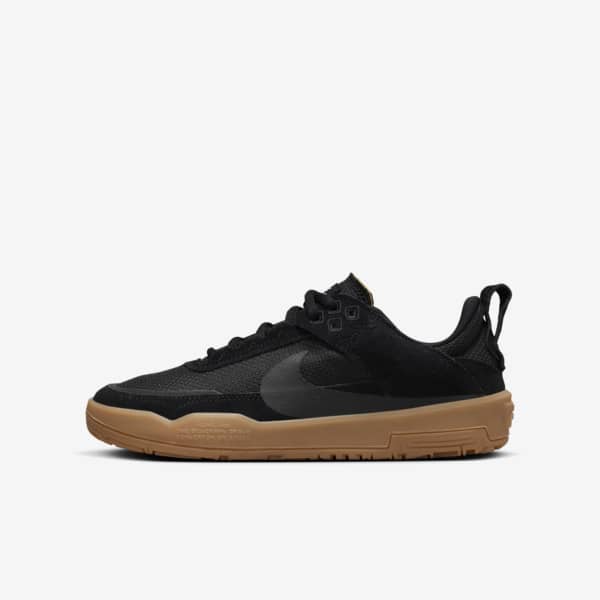
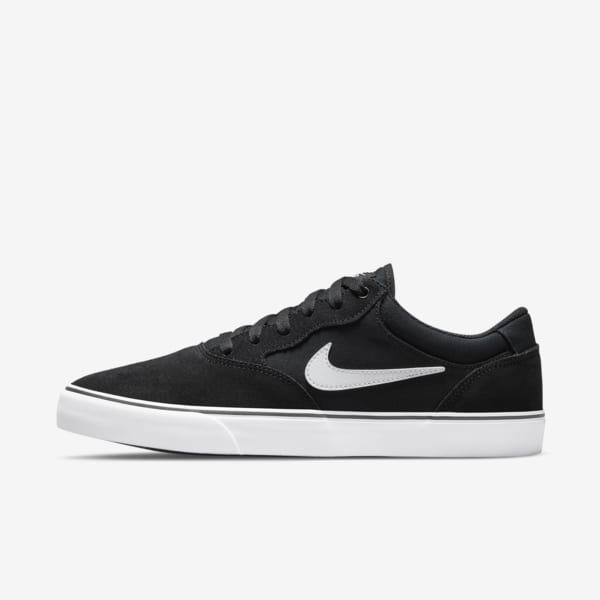
(Related: The Best Nike Skateboarding Shoes for High Performance)
5 Essential Equipment Items Every Beginner Skateboarder Needs
For your first skateboard session, riders need five things: a skateboard, a helmet, wrist braces, knee pads and elbow pads, Eberling said. More on this below.
- Skateboard: While it's possible for newbies to learn to ride on a standard 30-inch "popsicle stick" board with small, hard wheels, your best bet is a "cruiser" or a "longboard", which is between 32 and 36 inches in length and has wheels that are 60 to 70 millimetres in diameter, Eberling said. This is because the longer platform will provide more stability, and the large, soft wheels are less likely to stop suddenly when they roll over small cracks in the pavement or bits of gravel. Eberling said that it's common for skateboard shops to want to sell skateboarders "popsicle sticks", as they are popular for tricks, but a longer board will be a beginner's best bet.
- Helmet: "Choose a helmet made for action sports", Eberling said. "High-airflow bicycle helmets will not offer protection for the back of the head and should not be worn [for skateboarding]". He said that The USSEA often recommends models with MIPS (Multi-directional Impact Protection System) technology. While there are no studies specific to skateboarding with helmets that use MIPS technology, other studies observing it in bicycle helmets found that MIPS could more effectively absorb impact and better protect the head than other types of helmets.
- Elbow and knee pads: For both of these protective items, Eberling said that it's important to look for plastic cups protecting the knee and elbow joint. The pads themselves should be snug-fitting (but not too tight that it restricts movement), and the cups should look fairly large. "Look for bigger, burlier [pads] designed to protect the skater during a fall", he suggested.
- Wrist wraps: "When you fall, you're going to reach out your hands instinctively", Eberling said, adding that wrist wraps can provide a protective layer to ensure your palms don't get scraped. Eberling recommended the kind that contain a similar plastic cup to elbow and knee pads for any hard hand or wrist collisions.
Words by Julia Sullivan, ACE, CPT
