The 7 Best Beginner-friendly Yoga Poses, According to Yoga Instructors
Sport & Activity
Try out these beginner-friendly yoga poses that can help you strengthen and stretch your body, head to toe.

If you're new to yoga, there are plenty of basic yoga poses for beginners to start building their practice. In fact, no matter how seasoned an athlete you are, there's always a place in a workout regime to incorporate a yoga practice.
"There is absolutely no prerequisite to how strong or flexible one has to be in order to try yoga", says Arunima Singhdeo, RYT 500.
For every pose, there tends to be modifications and progressions to match your experience, energy level and needs for that session, too. (Related: 3 Simple Tips for an At-home HIIT Workout)
"There is a beginner-friendly variation of each movement that you can try no matter what your fitness level is", says Pradeep Sattwamaya, MSc in Applied Sciences from Bihar Yoga Bharati.
Having patience and taking your time to learn each pose is pivotal to a successful practice. It's also important to work up to advanced poses to avoid heightened injury risk, Sattwamaya says.
Eager to start? Below, find seven beginner-friendly yoga poses with detailed instructions on exactly how to nail them. Though before you attempt any of these poses, make sure you consult your doctor or other relevant licensed medical professional to make sure these are right for your fitness level and goals.
7 Yoga Poses for Beginners
1.Child's Pose
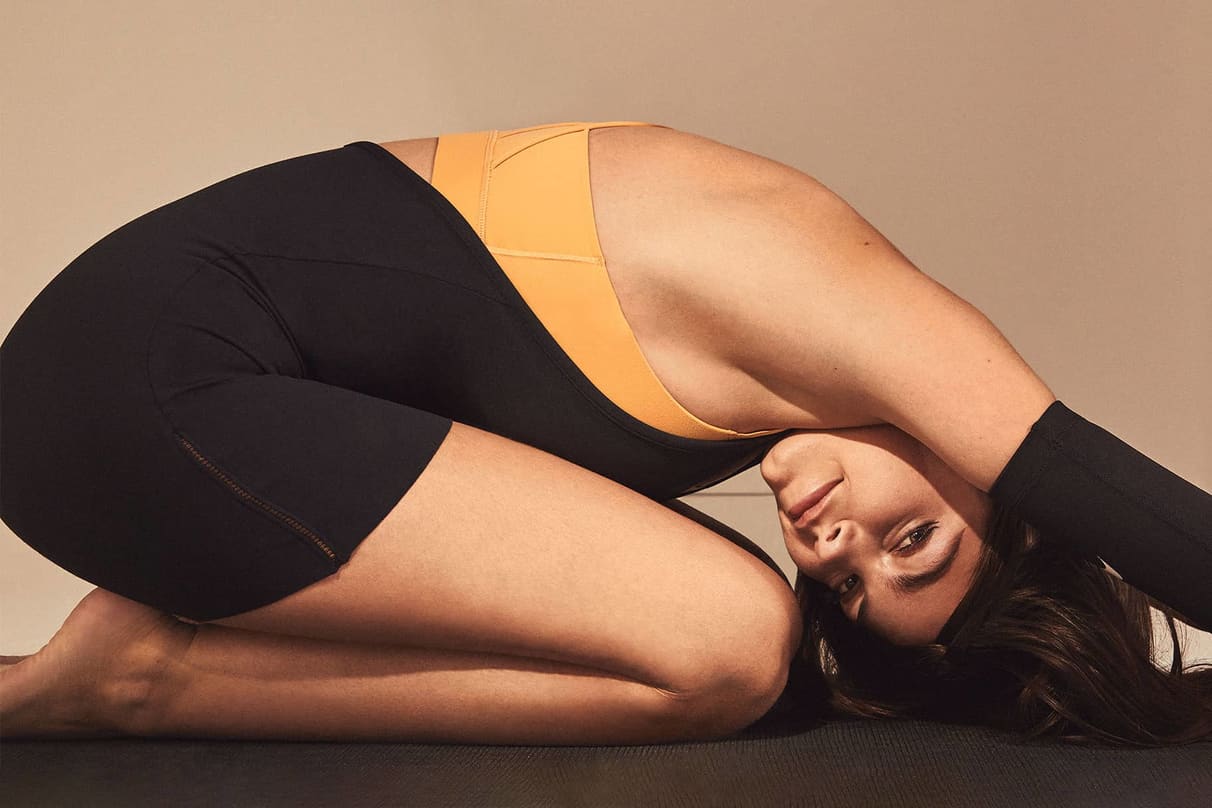
Many yoga classes—whether virtual or in person—often start with this beginner-friendly resting pose and weave it throughout the session to help you catch your breath and regroup. Child's pose can also stretch your back muscles.
"Child's pose is a great counter move to stretch muscles that become stiff because of long sitting hours", Singhdeo says. "It helps stretch your lower and upper back and hips, as well as your shoulders if you elect to keep your hands overhead".
How To Do It
Start by kneeling on the floor, with your bum resting on your heels and knees mat-width apart. Extend your arms overhead, palms facing down and exhale.
Next, keeping your arms straight, hinge at your hips to lower your belly down towards the ground.
If you can, lower your forehead to the ground, too. If that is not comfortable, grab a block or blanket to rest it on instead.
2.Seated Forward Fold
Accessible for people at all mobility and strength levels, the seated forward fold helps relieve stress and tension in the lower back and hamstrings, says Alexi Tetrault, PA-C, RD and a 200-hour registered yoga instructor and registered dietitian.
The stretch, however, isn't just good for your backside; it's good for your insides, too.
"Folding movements—including seated folding movements—help us tap into our parasympathetic nervous system, responsible for rest and digestion, providing a sense of calming that allows the body to slow down", she says. Indeed, one 2012 study concluded that a yoga practice may help fix the parasympathetic nervous system mayhem that underlies conditions worsened by stress, such as epilepsy and depression.
How To Do It
Take a seat on your yoga mat and extend your legs in front of you. Readjust your bum so you're sitting on your sit bones—two bones shaped like almonds located at the underside of the bottom. Flex your feet: pull your toes up and back towards your body.
Exhale. Then with your core engaged, fold forwards over your legs and lightly rest your hands on the top of your thighs. If it's comfortable, add a slight bend in your knees and reach for your feet, ankles or shins—whatever is most accessible to you—to feel a slight stretch in the back of your thighs or lower back. Try to avoid overstretching. You shouldn't feel pain or extreme discomfort. If you do, further bend the knees or adjust your reach.
3.Low Lunge

If your hips feel tight after sitting at a desk, for example, Tetrault says to spend some time in a low lunge.
"Low lunge is a deep hip and hip flexor stretch that promotes hip mobility", she says.
Intermediate variations can also help to open your chest and strengthen your lower belly, she says.
How To Do It
Start by standing with your feet hip-width apart. Fold forwards, bending your knees as much as you need to bring one palm on either side of your feet. If this distance feels uncomfortable, consider putting a block (or stack of books) on either side of your feet.
Keep one foot firmly planted in front, then reach the opposite leg back behind you. Think about actively pressing your back leg behind you to keep the muscles engaged. Look at your hips in the mirror or briefly check the height of your hips by placing one hand to each hip and looking at the height differences between the two and adjust as needed to make them level.
From here, you can incorporate a chest and back stretch, if it's available to you. Drop your shoulders down and away from your ears. Think about pulling your trapezius together behind you to open your chest.
To get out of the lunge, bring both hands down to the mat. Then, step the back foot up to meet the top before returning to stand. Next, repeat the lunge on the other side.
4.Low Cobra Pose
Arguably one of the most common poses in a yoga class, cobra pose is a subtle back extension that can strengthen your back, shoulders, midline and arms.
Tetrault recommends using this pose to open your shoulders if your upper body is feeling stiff after a day of sitting, slouching or driving.
How To Do It
Start by lying on your stomach, toes pointed. Place your hands directly under your shoulders and angle your elbows behind your body.
Keeping your pelvis and legs pressed into the ground, push your palms into the ground to elongate your arms without fully straightening them. Simultaneously, peel your chest off the ground like you're trying to show off your sternum. Keep your core engaged. Make sure you keep your shoulders from creeping towards your ears.
5.Downward Dog

This pose offers a range of benefits. To name a few: it helps elongate tight hamstrings, loosen stiff backs and open shoulders, Singhdeo says.
If you have tight hamstrings or a stiff lower back, you may need to bend your knees to keep your back straight. If your heels don't touch the ground—don't worry, you'll get there over time and with consistent practice.
"Slowly, over a few months, your body will open up for the stretch", Singhdeo says.
How To Do It
Settle into a table pose on your hands and knees, with your wrists stacked under your shoulders and knees directly under your hips. Spread your fingertips wide and press down your pinkie into the mat to activate your back muscles.
Next, exhale and gently unbend your knees as you lift your tailbone to the sky. Remember, you may not be able to fully straighten your legs—maintain a knee bend as much as you need. Pretend that an invisible string is pulling your hips towards the ceiling. Then, lightly press your heels down towards the ground until you feel a stretch in the back of your lower legs.
Brace your midline and gaze between your arms to maintain a flat back. Then, hold for a few breaths, actively pushing through your feet and hands the entire time.
6.Warrior I

This pose is the ultimate multitasker. Not only does it open your hips, it also strengthens your legs and core.
Regularly incorporating this pose into your practice can also help develop body awareness, Singhdeo says. That's because the position puts your legs in two separate planes, which requires focus.
How To Do It
Start by getting into a downward dog position. Next, place one foot down between your palms. If you can't step this far forwards, place your foot as far as you can, then use your hands to adjust the foot.
Now, drop your back heel onto the floor so that your back toes are facing 45 degrees away from your body. Make sure your knee and ankle remain aligned—the joints should run like train tracks.
Lift your arms to the sky, so that your palms face one another and your biceps are pressed against your ears (but make sure you're not shrugging your shoulders). If this isn't comfortable, you can simply position your hands in a prayer position in front of your chest or rest them on your hips. Pull your shoulders away from your ears and hold.
7.Corpse Pose
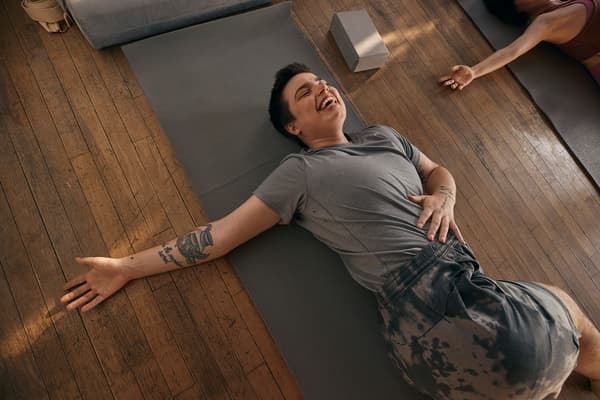
"Corpse pose is done at the end of class to bring stillness to the body and mind", Singhdeo says. Also known as Savasana, corpse pose is considered the most important pose of class because it transitions you from your practice back to the real world, she says. "It is designed to relax so that you feel no tiredness even if the class was tough".
How To Do It
Lie down on your back with your legs hip-width apart, feet falling open to either side. Position your arms down by your side, palms facing up. Let go of any tension in your body, letting your muscles melt into the mat. Breathe naturally and stay for as long as you like.
For more expert-backed tips, make sure you download the Nike Training Club App.
Words by Gabrielle Kassel
