Try These 6 Yoga Poses to Boost Strength
Sport & Activity
Some poses, or asanas, are better than others if boosting strength is your primary goal—and they can be done at any level of yoga practice.
If your fitness goal is to build muscle mass and improve strength, you've probably thought about training in the weight room or via boot-camp-style drills or military workouts. How about doing yoga for strength? Many people do yoga for strength and balance and to get other mind-body benefits along the way. Research has shown that yoga can be just as effective as traditional strength training for some people.
6 Best Yoga Poses for Strength
Most yoga poses promote flexibility, balance and strength at the same time. But some poses, or asanas, are better than others if boosting strength is your primary goal. Here are some excellent poses to build strength for anyone at any level of yoga practice.
1. Plank Pose (Phalakasana)
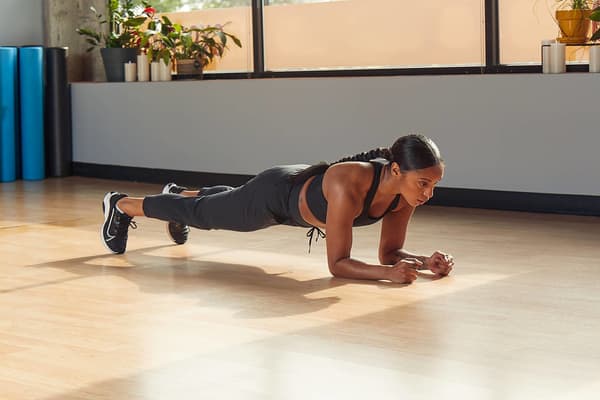
Plank Pose has become a go-to core training exercise. It is highly effective at promoting stability and strength in the abdominal muscles (rectus abdominis, transverse abdominis, internal and external obliques), back muscles (erector spinae, trapezius, rhomboids), glutes, shoulders and chest. Even the leg muscles must be active to hold a plank; your quads and calves get a workout during this pose too.
How to Do Plank Pose
- Start in a kneeling position on your mat.
- Walk your hands out and away from your body until your knees come off the floor and everything from the tip of your head to the heels of your feet is in one straight line.
- Hover over your mat and hold for 30 seconds or more.
- To make this pose easier, bend your elbows to 90 degrees and drop down onto your forearms.
Pro challenge: If you're ready to take this pose to the next level, move from Plank to Side Plank on both sides. From Plank Pose, shift your weight onto your right hand while rotating your entire body up to the left. Your weight should be evenly distributed on your right hand and the outside of your right foot. Take your left hand and extend it up towards the ceiling in line with your shoulders. Hold for 30 seconds or more. Then place your left hand back on the mat to find Plank Pose again. Hold for a few breaths, then repeat the Side Plank on the other side.

2. Garland Pose (Malasana)
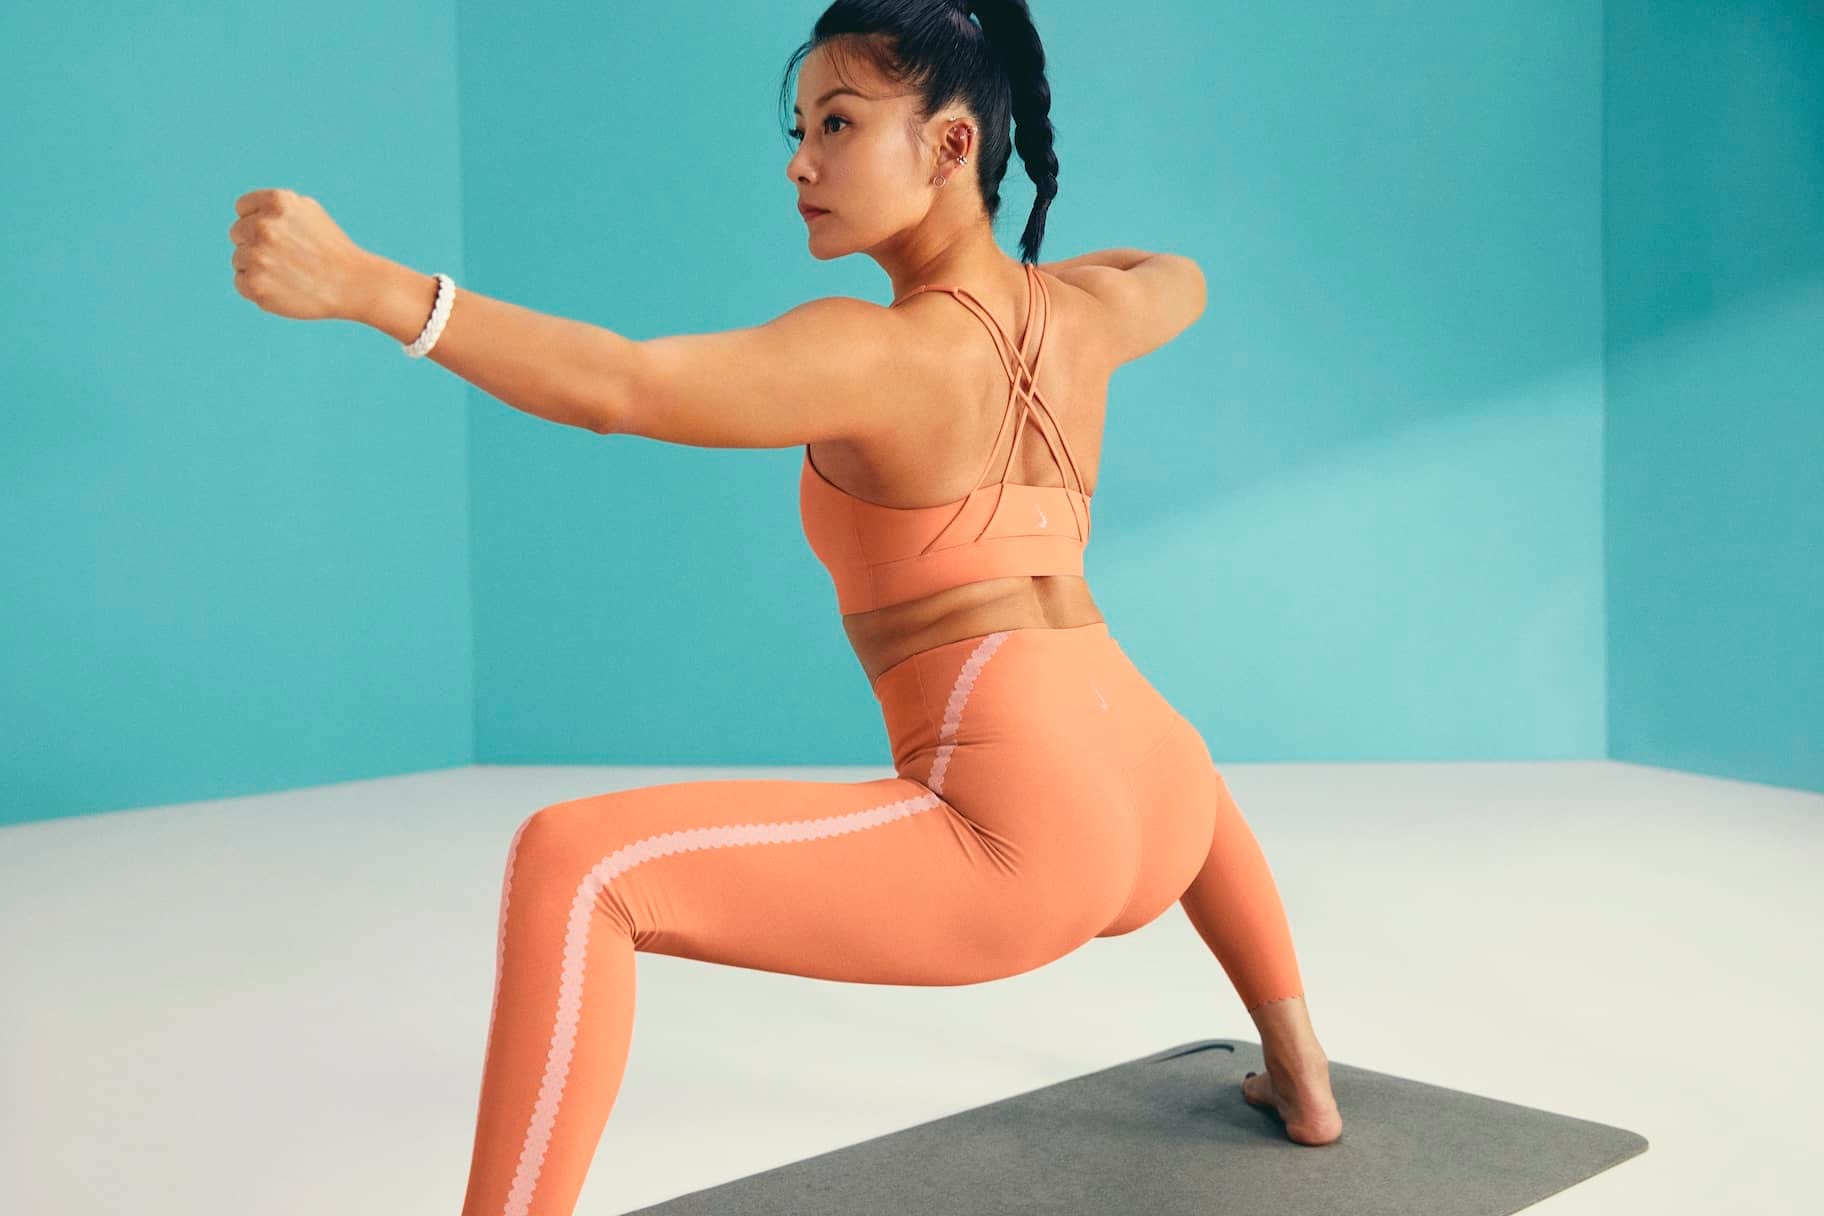
This deep squat pose allows you to increase hip flexibility while strengthening the muscles in your back and thighs. You'll also feel the muscles in your feet and ankles become active as you hold this position.
How to Do Garland Pose
- Begin in Mountain Pose (Tadasana).
- Step your feet slightly wider than hip-distance apart. Rotate your legs out slightly so that your toes point to opposite corners of the mat.
- Now drop your hips back and down, keeping your chest lifted as you sink into a deep squat position.
- Bring your upper arms to the inside of your knees and press your legs open while bringing your palms together in front of your heart.
- Hold for 3–5 breaths or longer.
Pro challenge: If you have some yoga experience, you can move from this deep squat into Crow Pose (Bakasana), a challenging balance asana. From Garland Pose, take your hands to the mat and press into your palms while shifting your weight forwards and off your feet. Press your knees into your upper arms and continue to shift your weight over your hands until your body is lifted and your feet are off the mat. Keep your toes together and hold this balance pose for 3–5 breaths.

3. Warrior I Pose (Virabhadrasana I)
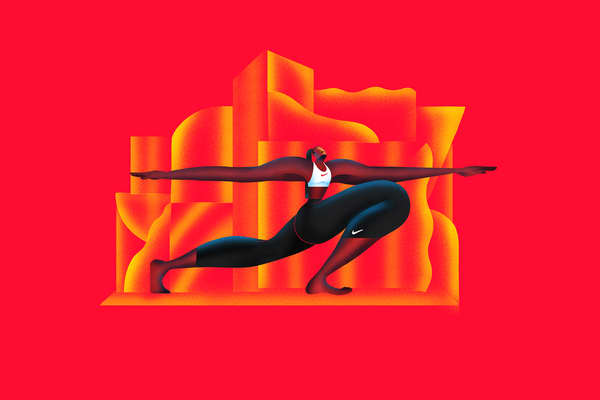
This foundational asana strengthens the muscles in the lower body (quadriceps, hamstrings, glutes and muscles in the lower leg, ankles and feet), while stretching the upper body. The core (including muscles in the abdominals and throughout the back) must also stay engaged to maintain balance in this standing pose.
How to Do Warrior I Pose
- Begin at the top of your mat in Mountain Pose.
- Now inhale and step your feet apart, so they are wider than your hips.
- Reach your arms up towards the sky with your palms facing each other.
- Rotate your back foot 45 degrees, so your toes are reaching towards the side or long end of your mat. The front foot should be rooted so that your toes reach for the front (or short end) of the mat.
- Exhale and bend your front knee to 90 degrees, keeping your hips facing forwards and your legs strong.
- Keep your back leg long and the outside of your back foot rooted to the mat.
- Keep your chest open and take your gaze up towards your hands.
- Hold for several breaths before releasing the pose and repeating on the other side.
Pro challenge: Take Warrior I to the next level by moving right into Warrior III (Virabhadrasana III), a balance pose that builds stability and strength. From Warrior I, shift your weight into your front foot and bend your torso forwards, gradually taking the weight off your rear foot. As your torso hinges forwards, keep your arms long and strong as you reach forwards, while the toes on your back foot reach in the opposite direction. Keep your knee slightly bent while you hold the pose for 3–5 breaths. Release by moving back through Warrior I and then finally to Mountain Pose. Repeat on the other side.

4. Dolphin Pose (Catur Svanasana)
This pose puts your body into an upside-down V position. It challenges you to use your shoulders, back, core and arm muscles to keep your body stable. But your legs and feet are active as well, so it feels like your whole body is working.
How to Do Dolphin Pose
- You can move into Dolphin Pose from Downward-facing Dog, if you choose. You can also start on your hands and knees (Tabletop position) on the mat. First, make sure that your wrists are directly under your shoulders and your knees are directly under your hips.
- Now drop your elbows down to the mat, keeping your upper arms close to your ears. At the same time, lift your hips towards the sky while pressing your heels into the ground.
- Keep your arms parallel with your palms and elbows grounded to the mat. Alternatively, you can choose to clasp your hands together, but either way, keep your elbows underneath your shoulders.
Pro challenge: Once you've mastered Dolphin Pose, try adding a Dolphin Push-up. While in inverted Dolphin Pose, press through your palms while lifting and straightening your elbows. At full extension, your arms should feel firm but not 'locked' at the elbow. Keep your core engaged, legs strong and heels pressing into the ground. Then slowly lower your elbows back to the mat to find Dolphin Pose again and repeat.

5. Bridge Pose (Setu Bandha Sarvangasana)
This chest-opener can be a restorative pose if you use props such as blocks or a bolster. But without props it can also challenge you to strengthen the glutes and hamstrings while increasing flexibility in the hip area.
How to Do Bridge Pose
- Start by lying on your back with your knees bent and feet flat on the mat.
- Relax your arms alongside your body with your palms flat.
- Keep your eyes focused on the ceiling and your neck relaxed through the entire pose.
- Press into the heels of your feet and start to curl your spine off the mat.
- Lift your tailbone first, then the middle of your spine and finally your upper spine.
- Bring your shoulders together underneath you and clasp your hands together.
- Breathe normally and hold for 30 seconds.
Pro challenge: If you have some yoga experience, take Bridge Pose into Wheel Pose or Upward Bow Pose (Urdhva Dhanurasana). While some yoga practitioners might move directly from Bridge Pose to Wheel Pose, you might want to start from a relaxed position with your back on the mat. Draw your heels closer to your body. Now bend your elbows up and back and place your hands firmly on the mat with your fingers reaching towards your feet. Press into your feet and lift the body, bringing your shoulders and hips off the ground. Your body will form an upside-down U. Keep your core engaged, chest open and legs parallel to each other. To come out of the pose, release slowly back to the floor.

6. Chair Pose (Utkatasana)
The whole body is active and engaged in Chair Pose. This pose works the quadriceps, hamstrings, calves, core, back and shoulders. Holding the pose requires mental focus and endurance.
How to Do Chair Pose
- Begin in a standing position (Mountain Pose or Tadasana) with your feet about hip-distance apart.
- As you inhale, raise your arms towards the sky with your palms facing in.
- Now exhale and bend your knees, dropping your hips back and down. Keep your legs parallel. Your torso will tilt forwards slightly, but keep your chest open and engaged so that your arms stay energised.
- Hold the pose for 3–5 breaths. As you get comfortable with Chair Pose, start with your feet together and keep your thighs pressed together through the entire pose.
Pro challenge: A variation on this pose is the Revolved Chair Pose, which forces you to challenge your stability and strengthens the spine. Start from Chair Pose and put your hands together into a prayer position. Press your palms together and twist to your left, supporting your right elbow with the outer part of your left leg. Keep your knees bent. Hold for 3–5 breaths, then twist to the right side and repeat.

Yoga vs. Traditional Strength Training
Yoga can provide health benefits regardless of your fitness level. Yoga helps to relieve stress, promotes good posture and improves both mental and emotional health. Yoga can also help improve sleep, relieve low back pain and help menopausal women manage their symptoms. Yoga also provides clear fitness benefits as well. A regular yoga practice can improve stability, flexibility, proprioception (knowing where your body is in space) and strength.
But is yoga better than traditional strength training? The answer depends on your fitness goals. Yoga doesn't require any special equipment, can be done almost anywhere, is inexpensive and can be modified for people at many different experience levels.
Traditional strength training, on the other hand, usually requires some financial investment. You either need to belong to a gym or invest in equipment such as dumbbells, barbells and weight plates, and other tools. For serious weight training, some experience is necessary, and you may even need a spotter to do heavy lifting.
If your goal is to build significant muscle mass (hypertrophy) or to participate in activities such as powerlifting, yoga can provide benefits. But you'll want to keep training in the gym for optimal muscle gain. In the gym, you'll be able to do both pulling and pushing exercises with equipment that can provide resistance overload.
Other athletes, such as runners, cyclists and swimmers can benefit from doing the kind of functional strength and stability training that yoga provides. Muscular contractions in yoga tend to be isometric, but the poses force you to balance and hold your body in position, challenging both mental and physical abilities.
Create a Yoga Routine
As you build a practice around these strength-building asanas, consider putting them into a yoga flow. Studies have shown that the Sun Salutation flow is effective for improving strength, body composition and general body endurance. Researchers found that each pose requires sustained contractions of many muscle groups simultaneously, making it comparable to resistance training.
Consider taking a yoga class to learn the flow sequence. You'll learn to incorporate new strength-building yoga poses, such as Low Plank (Chaturanga Dandasana), Upward-facing Dog (Urdhva Mukha Shvanasana), and Downward-facing Dog (Adho Mukha Svanasana). You may even be inspired to challenge yourself with inversions to build strength, such as a headstand or a handstand. Talk to a certified yoga instructor to get guidance on proper form and sequencing.

Yoga Tips to Help You Find Your Flow
Get free guidance from trainers and experts to strengthen your body and mind.
