How to Use Yoga Blocks: 5 Poses to Try
Buying Guide
Check out the benefits of the Nike yoga block and learn how to incorporate it in your practice with these expert tips.
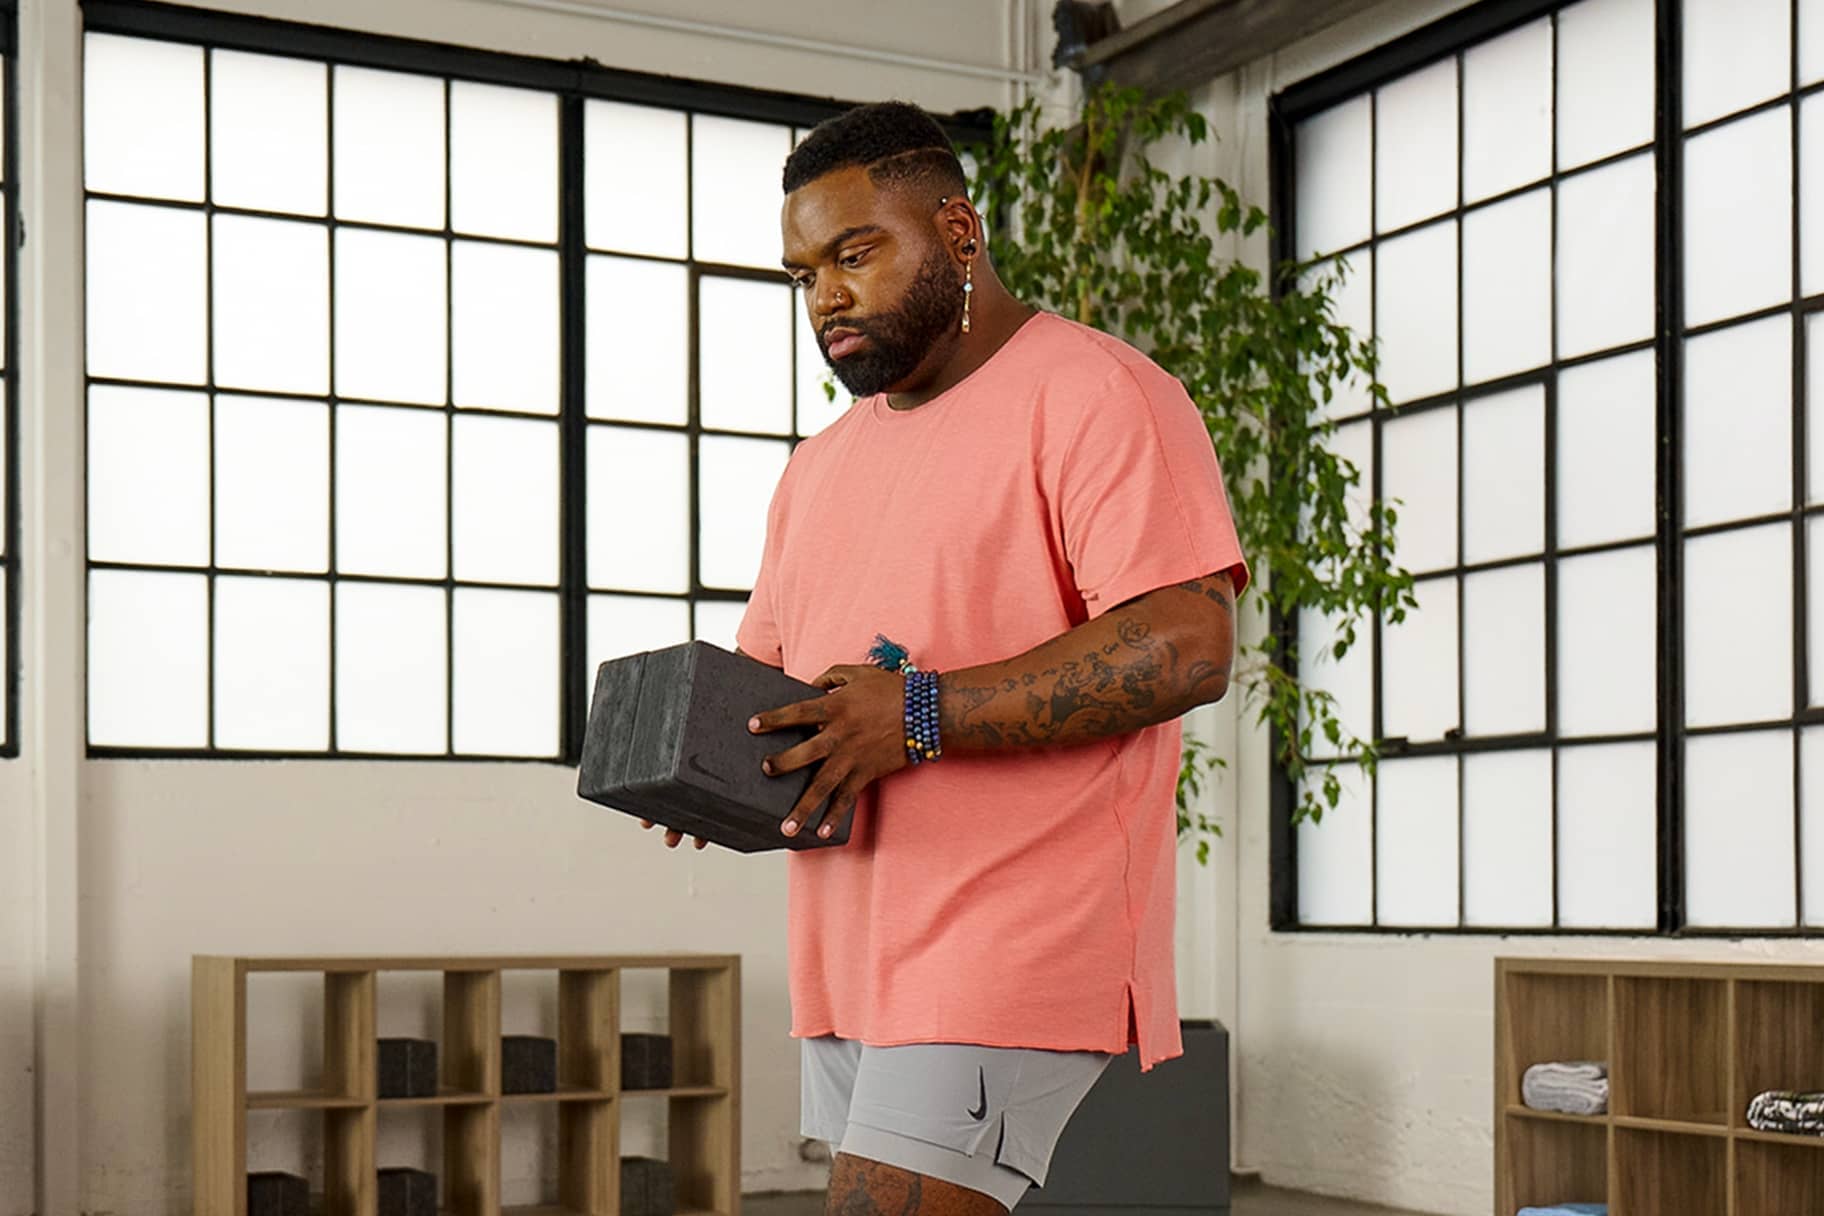
Yoga is a practice that encourages listening and responding to the body’s cues. Not feeling inversions today? Slip into a gentle child’s pose. Hamstring stretch a bit too intense? Scale it back.
One of the best ways to personalize — and get the most out of — a yoga session, said Robyn Gaillard, a Kripalu-registered yoga teacher, is to use props like yoga blocks.
“A yoga block is a valuable yoga prop because it lifts the floor in support of correct anatomical alignment, engages deep muscles between the thighs when squeezed and supports the pelvic floor, hips and core,” she explained.
What this means: A yoga block can help people attain the same angle and stretch they would if they could reach the floor in certain poses — but without sacrificing form or straining the body.
(Related: The 8 Best Yoga Gifts by Nike)
Using yoga blocks can also help trigger core activation and spinal alignment in other poses, said Gaillard, making them helpful tools for yoga enthusiasts of all levels.
This core activation and spinal alignment usually happens when squeezing the block between the thighs in certain poses (like table pose, when a person is in a quadruped position). In order to keep the block between the legs, the thigh muscles have to remain activated. The thighs, in turn, help support the hips. The hips then support the core and back.
(Related: How to Choose the Right Nike Sports Bra for Yoga)
The American Council on Exercise (ACE) noted that yoga blocks can also help make yoga accessible to beginners or those experiencing injuries or certain physical limitations. That said, those with an injury should consult with a primary care physician prior to using yoga blocks (or participating in yoga in general) to see if it’s right for you.
Looking to incorporate yoga blocks into your practice? Try these five poses using the Nike Mastery Yoga Block.
The Nike Mastery Yoga Block features dense foam for a natural-stone feel that enhances grip and stability. Measuring 3 inches by 6 inches by 9 inches, it’s designed to be compact and lightweight, making it well-suited for transporting to and from class. Gaillard recommended adding two yoga blocks to your collection of workout props, as some poses can benefit from using multiple blocks at once.
How to Use the Nike Yoga Block: 5 Poses to Try
1.Uttanasana (Ragdoll)
What it is: According to Gaillard, ragdoll pose (also called uttanasana) is a standing forward bend aimed at improving spinal flexion and stretch in the hamstrings.
How a yoga block can help: In this pose, Gaillard explained that squeezing the block between the legs encourages core activation, which helps the spine to lengthen and upper body to fold forward a bit more naturally. That’s because, as Gaillard noted, the thighs support the hips and pelvis, which then support the core and back.
“The thigh muscles, or adductors, attach to the core. When the block is squeezed, the connection to the core is established and, eventually, subtly felt,” she noted. You can also place a block at the feet to lay the hands on for extra stability.
How to use the yoga block(s):
- Place a yoga block between the thighs so the long, flat sides align with the legs. Squeeze the thighs together to hold the block in place while slightly bending the knees. Take a deep breath.
- Clasp opposite elbows in each hand as the torso folds at the hips so the chest is facing the thighs, slowly and deeply exhaling on the descent. Hold or slowly sway the elbows side to side.
- Take two to three deep breaths in and out, continuing to squeeze the yoga block.
- Release the block and return to standing.
2.Bharmanasana (Table Pose)
What it is: As Gaillard explained, table pose is a static position that can help people find spinal alignment in their yoga practice. It’s often a starting or transition pose before other, more complex poses.
How a yoga block can help: As Gaillard noted, squeezing a block between the thighs helps align the core and leg muscles. A goal of table pose is to support spinal alignment, and a block can help enhance that process.
“It [pushes] the center of gravity to the core and helps the leg muscles anchor and stabilize the body,” she said.
How to use the yoga block(s):
- Assume tabletop position on a yoga mat, with the palms directly under the shoulders and the fingers facing forward.
- Place a yoga block between the thighs so the long, flat sides are being held up by the inner portion of the legs. Squeeze the thighs together.
- Gazing down at the fingertips, attempt to flatten the back as much as possible while pressing the palms into the floor and dropping the shoulders. Imagine a string pulling the top of the head and bottom of the tailbone to opposite ends of the room.
- Take two to three deep breaths in and out, continuing to squeeze the yoga block.
- Release the block and assume child’s pose.
3.Ashwa Sanchalanasana (Runner’s Lunge)
What it is: This is a hip-opening lunge stretch also meant to build strength in the quadriceps, hamstrings, inner thighs and core muscles.
How a yoga block can help: This pose requires the athlete to maintain balance while holding an isometric muscle contraction, which can be challenging, said Gaillard. She said that adding a block under each hand in the lunge can enhance stability, while also encouraging the hips to better align with one another, which can deepen the stretch.
How to use the yoga block(s):
- Put two yoga blocks at the top of a yoga mat, near the left and right edges. Place the block on the ground with its longest ends facing vertically for a less intense stretch. Place the block with its shortest ends vertically for a deeper stretch.
- Get into a high-plank position by placing the hands shoulder-width apart near the top of the mat between the blocks. Press the palms into the floor. Step the feet back one at a time.
- From a high-plank position, step the left foot forward to the front of the mat so it sits between your hands and to the right of the left-side yoga block. (You may need to do some adjusting of the yoga block placement here.)
- Once the foot is planted, place the hands on top of either yoga block. Make sure that the knee, ankle and toes are all pointed forward and that the knee doesn’t extend over the ankle.
- Using the blocks for support, face the hips forward and sink as deeply into a lunge as comfortable. Gaze down at the front of the mat to lengthen the spine.
- Take two to three deep breaths in and out.
- Release, then come to a seated position before repeating on the other side.
4.Ardha Chandrasana (Half-Moon Pose)
What it is: This pose requires unilateral (or single-leg) balance and emphasizes an opening of the chest.
How a yoga block can help: For extra stability and balance, a yoga block can be held in one hand, said Gaillard.
How to use the yoga block(s):
- Stand in the middle of a yoga mat. Place a yoga block at its highest level, halfway between the body and the top of the mat.
- Step the right leg forward as the knee bends to sink into a high lunge, straightening the left leg in the process. The block should sit just above the right toes.
- Keeping the right foot facing forward, place the right hand on top of the block for stability while lifting the left foot into the air.
- Once the left leg is parallel to the floor, twist the torso to face the left side of the room as the left arm reaches up toward the ceiling.
- Take two to three deep breaths in and out.
- Release, then switch sides and repeat steps 1 through 5.
5.Matsyasana (Fish Pose)
What it is: “Fish pose is a backbend meant to strengthen the shoulders and upper back,” said Gaillard. The pose also helps open the chest and heart.
How a yoga block can help: Without yoga blocks, fish pose can be a particularly advanced pose, said Gaillard. But with the addition of blocks, beginners can better ease into this heart-opening move.
How to use the yoga block(s):
- Place two blocks at the end of a yoga mat where the head typically rests when lying horizontally. Make a letter T with the blocks by placing one block horizontally with the long sides facing the top and bottom of the yoga mat and the second block with its long sides facing the left and right sides of the yoga mat.
- Sit tall in the middle of the mat with legs out in front. There can be a slight bend at the knees if that feels natural.
- Gently lean back so that the shoulder blades sit slightly above the bottom block. Once the shoulder blades are comfortable, release the neck to allow the head to rest on the top block. (When reclining, the head will rest on the top block and the upper back on the lower block).
- Bring the arms out to either side of the body, palms neutral. Allow the legs to lie naturally in front. (In other words, don’t make a conscious effort to activate the muscles in glutes, legs or feet.)
- Take two to three deep breaths in and out, allowing the chest to gently open with each exhale.
- Release, slowly and carefully rising to a seated position.
Words by Julia Sullivan, ACE-certified trainer
